Key Tools for Mastering Vinyl Wrapping: Achieve Professional Results Every Time

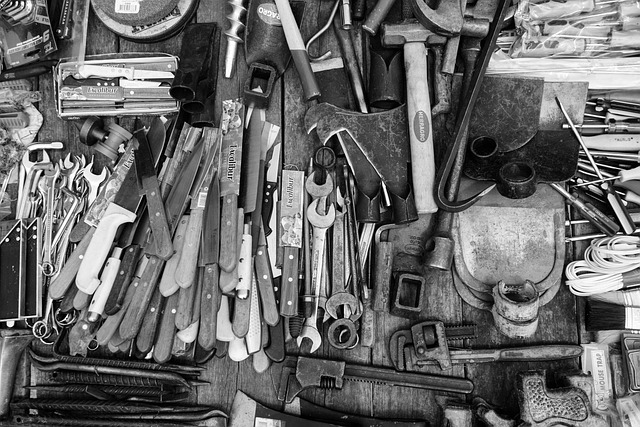
tools, knives, wrenches, drills, cutting tools, metal, assorted, assorted tools, assortment, black and white, monochrome, tools, tools, tools, tools, tools

Key Tools for Mastering Vinyl Wrapping

Vinyl wrapping has become a popular method for transforming vehicles, providing an opportunity for customization without the permanence of paint. Whether you are a seasoned professional or a passionate DIY enthusiast, having the right vinyl wrapping tools is essential for achieving a flawless finish. In this guide, we will explore the must-have tools that will help you master the art of vinyl wrapping, ensuring that every project results in a stunning transformation.

1. Cutting Tools

A precise cut is crucial in vinyl wrapping. Having the right cutting tools can make all the difference.

  • Utility Knife: A sharp utility knife is essential for cutting vinyl sheets accurately. Look for one with a retractable blade for safety and ease of use.
  • Cutting Mat: To protect your surfaces and ensure clean cuts, invest in a self-healing cutting mat. This will also prolong the life of your blades.
  • Vinyl Cutter: For larger projects, a vinyl cutter can save you time and provide precision cuts for intricate designs.

2. Application Tools

Proper application is key to achieving a professional look. The following tools will aid in a smooth and seamless application process.

  • Squeegee: A high-quality squeegee is vital for removing air bubbles and ensuring the vinyl adheres smoothly to the surface. Look for one with a felt edge to prevent scratches.
  • Heat Gun: A heat gun helps to soften the vinyl, making it more pliable for stretching around curves and edges. It also helps with adhesion and shrinking the vinyl for a tight fit.
  • Application Tape: This tape helps in positioning the vinyl accurately before the final application, especially for larger pieces.

3. Finishing Tools

Once the vinyl is applied, finishing touches are necessary to ensure a polished look. These tools will help you achieve that professional finish.

  • Trimming Blades: Use sharp trimming blades to cut excess vinyl around edges and seams for a clean finish.
  • Detailing Tools: Small detailing tools, such as picks and brushes, can help in getting into tight spaces and ensuring that every corner is perfectly wrapped.
  • Rivet Brush: This tool helps to push the vinyl into rivets and other irregular surfaces, ensuring complete coverage.

4. Cleaning Tools

Before you start wrapping, it’s essential to have a clean surface. These cleaning tools will help prepare your vehicle for the best results.

  • Isopropyl Alcohol: Use isopropyl alcohol to clean the surface of any dirt, grease, or wax. This will ensure better adhesion of the vinyl.
  • Microfiber Cloths: Soft microfiber cloths are perfect for cleaning without scratching the surface. They are also great for applying cleaning solutions.

5. Safety Gear

When working with vinyl wrapping tools, safety should always be a priority. Protect yourself with the following gear:

  • Safety Gloves: Wearing gloves can protect your hands from sharp blades and vinyl adhesives.
  • Safety Glasses: If you’re using a heat gun or cutting tools, make sure to wear safety glasses to protect your eyes from debris.

6. Optional Accessories

While not essential, these accessories can enhance your vinyl wrapping experience:

  • Vinyl Wrap Tool Kit: Many tool kits come with a variety of the essential tools needed for vinyl wrapping, making it easier to get started.
  • Heat Resistance Gloves: These can protect your hands when handling heated vinyl, allowing for better manipulation without burns.

Conclusion

Mastering vinyl wrapping requires the right vinyl wrapping tools and techniques. By investing in high-quality cutting, application, finishing, cleaning, and safety tools, you can ensure that every project is executed flawlessly. Whether you’re wrapping your vehicle for personal expression or professional purposes, having these tools at your disposal will help you achieve stunning results every time. Happy wrapping!

Mastering DIY Car Wrapping: Top Tips for a Flawless Finish

motorbike, garage, repairs, workshop, hobby, automotive, build, mechanic, motor, motorcycle, big bike, vehicle, garage, garage, garage, garage, garage, mechanic, motorcycle, motorcycle

Mastering DIY Car Wrapping: Top Tips for a Flawless Finish

Transforming your vehicle with a stunning wrap is an exciting project that can enhance its appearance and provide protection. With the right techniques and materials, you can achieve a professional-looking finish right from your garage. Here are some essential DIY car wrapping tips to help you along the way.

Step 1: Surface Preparation

Before diving into the wrapping process, it’s crucial to prepare your car’s surface properly. A clean and smooth surface ensures that the wrap adheres well and looks flawless.

Cleaning Your Vehicle

  • Wash: Start by washing your car thoroughly with soap and water to remove dirt, grease, and grime.
  • Dry: Use a microfiber cloth to dry the surface completely. This minimizes the risk of water spots.
  • Decontaminate: Use a clay bar or a similar product to eliminate any embedded contaminants that could affect adhesion.
  • Wipe Down: Finish with isopropyl alcohol to ensure the surface is free from oils and residues.

Inspecting the Surface

Check your vehicle for any imperfections such as scratches or dents. Address these issues before wrapping, as they will be magnified once the wrap is applied. Sand down rough patches and fill in any dents with body filler, then sand it smooth.

Step 2: Material Selection

Choosing the right vinyl wrap is critical for achieving the best results. Here are key factors to consider:

Types of Vinyl Wraps

  • Cast Vinyl: This type is recommended for vehicles as it conforms better to curves and contours.
  • Calendered Vinyl: More affordable but less durable; suitable for flat surfaces or temporary projects.
  • Finish Options: Decide between matte, gloss, satin, or textured finishes based on your desired look.

Quality Matters

Invest in high-quality vinyl from reputable brands. Premium materials may cost more upfront but will provide better durability and appearance.

Step 3: Tools and Techniques

Having the right tools is essential for a smooth wrapping process. Here’s a list of must-have tools:

  • Utility Knife: For trimming excess vinyl.
  • Squeegee: Helps to apply the vinyl smoothly and remove air bubbles.
  • Heat Gun: Necessary for stretching the vinyl and ensuring proper adhesion.
  • Measuring Tape: For accurate measurements of your vehicle’s surfaces.
  • Application Gloves: Prevents oils from your hands from contaminating the adhesive.

Application Techniques

To achieve a professional finish, follow these techniques:

  • Start with Large Sections: Begin wrapping larger sections of your vehicle, like the hood or roof, to build confidence.
  • Work from the Center Out: Apply the vinyl from the center of the panel outward to avoid trapping air bubbles.
  • Heat as Needed: Use a heat gun to soften the vinyl as you work around curves and edges for a snug fit.
  • Trim Carefully: Use a utility knife to trim excess vinyl, but be cautious to avoid cutting into the vehicle’s paint.

Step 4: Post-Wrapping Care

Once your car is wrapped, proper care ensures the longevity of the vinyl.

Initial Care Steps

  • Let It Cure: Allow the wrap to cure for at least 24 hours before washing or exposing it to harsh conditions.
  • Avoid Direct Sunlight: Keep the vehicle in the shade for the first few days to prevent heat damage to the adhesive.
  • Gentle Cleaning: When washing, use a soft cloth and avoid harsh chemicals to maintain the wrap’s integrity.

Maintenance Tips

Regularly check for any lifting edges or bubbles and address them promptly. A little maintenance goes a long way in keeping your wrap looking fresh.

Conclusion

With these DIY car wrapping tips, you can transform your vehicle into a stunning work of art. Remember that patience and practice are key to mastering the process. By following these steps, you’ll not only save money but also enjoy the satisfaction of a job well done. Happy wrapping!

Unlocking the Art of Vinyl Wrapping: Essential Techniques and Tips for a Flawless Finish

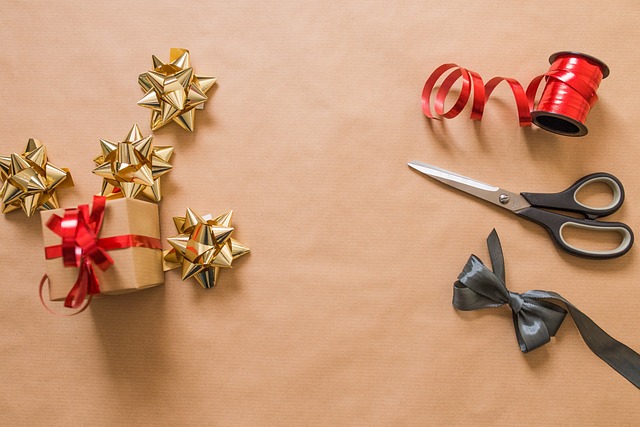
arts and crafts, bows, ribbons, gift, gift wrapping, present, goft box, art materials, scissors, wrapping paper, celebration, christmas gift, christmas present, paper, gift, gift, gift, gift, gift, gift wrapping, present, scissors, wrapping paper, paper

Unlocking the Art of Vinyl Wrapping: Essential Techniques and Tips for a Flawless Finish

Vinyl wrapping has emerged as an exciting way to customize vehicles, furniture, and various surfaces, providing an opportunity for creativity while protecting the underlying material. Whether you’re a seasoned pro or a beginner, mastering vinyl wrapping techniques can make all the difference in achieving a flawless finish. In this blog post, we will explore essential techniques and tips to help you elevate your vinyl wrapping skills.

Understanding the Basics of Vinyl Wrapping

Before diving into the practical aspects, it’s important to understand what vinyl wrapping entails. Vinyl wraps are made from durable plastic materials that can be applied to surfaces to change their color, design, or texture. This technique is popular for automotive customization but is also applicable to various DIY projects.

Key Materials Needed

  • High-quality vinyl wrap: Choose a reliable brand that offers a range of colors and finishes.
  • Application tools: A squeegee, utility knife, and heat gun are essential for a smooth application.
  • Surface cleaner: Ensure that the surface is clean and free of contaminants before applying the vinyl.
  • Measuring tools: Use a tape measure and ruler to ensure accurate cutting and fitting.

Surface Preparation: The Foundation of a Great Wrap

The first step in achieving a flawless finish is proper surface preparation. Follow these steps for effective cleaning and prepping:

Step-by-Step Surface Preparation

  1. Clean the surface: Use a suitable cleaner to remove dirt, grease, and wax. Rinse thoroughly and dry.
  2. Repair any damage: Fill in scratches or dents to create a smooth surface for the wrap.
  3. Sand the surface: Lightly sand glossy surfaces to create a better bond for the vinyl.
  4. Use a primer: If necessary, apply a primer to enhance adhesion, particularly on challenging surfaces.

Essential Vinyl Wrapping Techniques

Now that your surface is prepared, it’s time to apply the vinyl. Here are some essential vinyl wrapping techniques to keep in mind:

1. Cutting the Vinyl

Accurate cutting is crucial. Use a utility knife for precise cuts, and leave extra material around the edges to ensure full coverage. Remember to cut on a flat surface to avoid damaging the underlying material.

2. Applying Heat

Using a heat gun can help the vinyl conform to the surface. Heat the vinyl slightly before applying it to allow it to stretch and mold around curves and edges. Be careful not to overheat, as this can damage the vinyl.

3. Squeegeeing for a Smooth Finish

Use a squeegee to remove air bubbles and ensure proper adhesion. Start from the center and work your way outwards to push air out towards the edges. This technique helps avoid wrinkles and ensures a tight bond.

4. Trimming and Finishing Edges

Once the vinyl is applied, carefully trim away the excess material with a utility knife. Make sure to leave a small margin to prevent peeling. Use a heat gun again to secure the edges and prevent lifting.

Creating Intricate Designs

If you want to go beyond solid colors and create intricate designs, here are some tips:

1. Use Layering Techniques

Layering different colors can create a dynamic look. Start with the base layer and allow it to adhere properly before applying additional layers on top.

2. Utilize a Template

For complex designs, creating a template can help you achieve accuracy. Cut your design out of paper to visualize placement before applying the vinyl.

3. Experiment with Textures

Vinyl comes in various finishes, such as matte, gloss, and textured. Mixing these finishes can add depth and interest to your project.

Final Thoughts

Vinyl wrapping is a rewarding process that allows for creativity and personalization. By mastering the essential vinyl wrapping techniques discussed in this post, you can ensure a flawless finish for your next project. Remember, practice makes perfect, so don’t hesitate to experiment and refine your skills. Happy wrapping!