Transform Your Ride: The Ultimate Guide to Vinyl Wrapping Your Vehicle
Are you looking to customize your vehicle without the long-term commitment of a paint job? Look no further than vinyl wrapping. This innovative technique allows you to change the color and finish of your car while also providing a layer of protection against the elements. In this guide, we’ll explore the benefits, techniques, and tips for achieving a professional finish with vinyl wrapping.
What is Vinyl Wrapping?
Vinyl wrapping involves covering a vehicle’s exterior with a thin layer of vinyl material. This material can come in a variety of colors, textures, and finishes, allowing for endless customization options. Unlike traditional paint, vinyl wraps can be easily removed or replaced, making them a popular choice for car enthusiasts and everyday drivers alike.
Benefits of Vinyl Wrapping
- Cost-Effective: Vinyl wrapping is typically less expensive than a full paint job. It allows you to achieve a fresh look without breaking the bank.
- Protective Layer: A vinyl wrap acts as a protective barrier against scratches, UV rays, and environmental contaminants, preserving the vehicle’s original paint underneath.
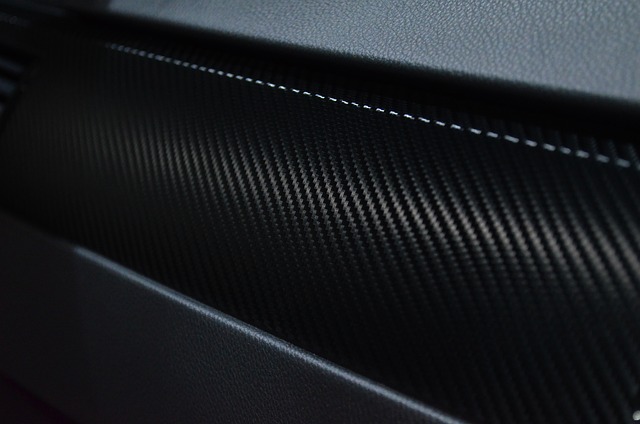
- Variety of Options: With countless colors, finishes (matte, gloss, satin), and textures (carbon fiber, metallic), vinyl wrapping offers unique customization that paint cannot match.
- Easy Removal: If you tire of your wrap or want to change it up, vinyl can be removed without damaging the original paint, offering flexibility in design.
- Quick Application: Vinyl wraps can usually be applied in a fraction of the time it takes to paint a vehicle, making it a convenient option for those eager to change their car’s appearance.
Techniques for Vinyl Wrapping
While you can hire professionals for vinyl wrapping, many DIY enthusiasts take on the challenge themselves. Here are some techniques to consider:
Preparation
- Clean the Surface: Thoroughly wash and dry your vehicle to remove dirt, dust, and grease. Any debris can cause imperfections in the wrap.
- Remove Components: Take off bumpers, mirrors, and any trim pieces to ensure a smooth application and a professional finish.
- Inspect for Damage: Fix any scratches, dents, or rust spots before wrapping, as these imperfections will be visible after application.
Application
- Measure and Cut: Measure the vinyl to cover each section of the vehicle, leaving a little extra for trimming. Cut the vinyl carefully with a sharp blade.
- Heat Activation: Use a heat gun to warm the vinyl before application. This makes it more pliable and easier to work with.
- Apply the Vinyl: Start from one end and gradually work your way across the surface, using a squeegee to eliminate air bubbles as you go.
- Trim Edges: Once the vinyl is applied, carefully trim the excess around edges and contours for a clean look.
Finishing Touches
- Seal the Edges: Use a heat gun to seal the edges of the wrap to prevent peeling or lifting over time.
- Reattach Components: Put back any mirrors, bumpers, or trims that were removed prior to wrapping.
- Final Inspection: Check for any imperfections or bubbles. Use the heat gun and squeegee to fix any issues.
Tips for a Professional Finish
- Choose Quality Vinyl: Invest in high-quality vinyl materials for better durability and finish.
- Work in a Controlled Environment: A clean, dust-free space with moderate temperatures is ideal for wrapping.
- Practice Patience: Take your time during the application process to ensure a smooth and flawless finish.
- Seek Help if Needed: Don’t hesitate to ask a friend for assistance, especially for larger vehicles or intricate designs.
Conclusion
Vinyl wrapping is a fantastic way to transform your ride while protecting its original paint. With the right materials, techniques, and a little patience, you can achieve a stunning, professional-looking finish that reflects your personal style. Whether you choose to do it yourself or enlist the help of a professional, vinyl wrapping opens up a world of customization possibilities for your vehicle.


